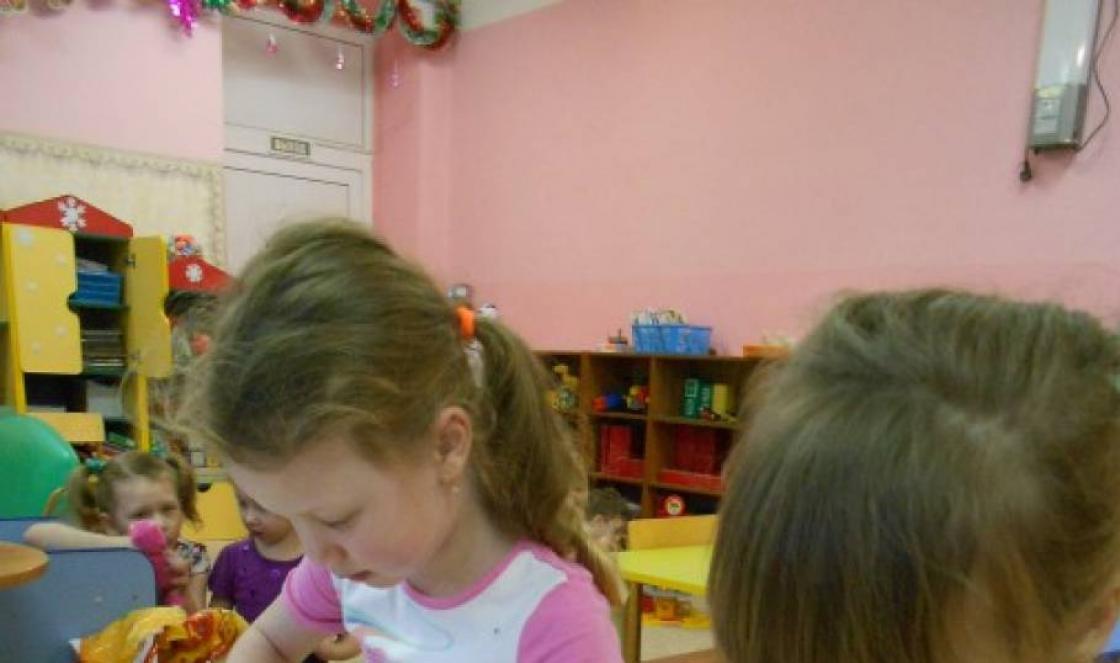
Each kindergarten from time to time holds thematic exhibitions at which joint works of parents and children are presented. For adults, this is an opportunity to take a break from the daily hustle and bustle and remember childhood, and for children, it is an opportunity to enrich their knowledge and skills in working with various materials. In addition, making crafts together expands the opportunities for communication between children and parents.
One of the important thematic exhibitions is an exhibition dedicated to traffic rules. So, how to make a traffic light for a kindergarten with your own hands? Let's look at a few simple and original ways.


Materials and tools:
- cardboard box for medicine (perfume, cream);
- paints (gouache);
- PVA glue;
- A4 sheets;
- stick (twig, ball stick);
- lid from a box of chocolates;
- champagne cork;
- pencil and ruler.
VIDEO INSTRUCTIONS 
- On an A4 sheet of paper, draw a spread of the box, leave an allowance for gluing along the edges and cut out the blank. The result is a package in which you need to wrap the box and glue the joints.
- We draw 3 circles on the box, this can be done using a compass or a stencil, and paint the body of the traffic light. For greater expressiveness, the “eyes” can be outlined with silver paint, and the highlights can be made white.
- Now we are making a stand, for this we take the lid from a box of chocolates and wrap it in a sheet of paper. On the back side we make a small hole into which we insert a stick. We draw out the box “to resemble an intersection” and paint it with paints.
 And lastly, we attach the traffic light to the base. We drill a hole in a champagne cork, strengthen it in the traffic light body and put it on a stick.
VIDEO
 First of all, we make three pompoms from red, yellow and green plastic bags. To do this, cut off the handles and the bottom of the bags, cut along one side to form a rectangle, and fold the pattern in half. We cut the edges into thin strips (no thicker than 1 cm), not cutting to the fold of about 5 cm. We fold bags of the same color one on the other, roll them tightly, and wrap the uncut part with tape.
We stack pompoms of different colors one on the other and fasten them with glue, tape or sew them. On the top pompom you can glue buttons - eyes and a cap glued together from paper, and on the middle one - hands cut out of paper with a striped baton.
DIY traffic light from a box. Step-by-step instructions with photos
DIY craft made from waste material “My friend – Traffic Light”. Master class with step-by-step photos
Grinko Karina, studying at the Kalacheevskaya secondary school No. 6, Kalach, Voronezh region.Supervisor: Lyudmila Nikolaevna Fedorova, Deputy Director for Educational Work of the Municipal Municipal Educational Institution Kalacheevskaya Secondary School No. 6, Kalach, Voronezh Region.
Master class: intended for children aged 9-11 years, organizers, educators and leaders of clubs on traffic rules.
Purpose: The craft serves as didactic material for studying and repeating traffic light signals in kindergarten and junior grades. This master class can serve as a good help in preparing for and participating in the school competition for “The best or original traffic light.”
Target: making themed crafts from waste material with your own hands.
Tasks:
- repeat the rules of the road, traffic lights;
- develop fine motor skills and attention;
- to educate diligent pedestrians and future drivers, hard work, accuracy.
Materials for work:
- an empty tube of glue stick (or white cardboard);
- glue stick (PVA glue);
- empty tea box (can be used for toothpaste, cream, etc.);
- scissors, a simple pencil;
- ruler;
- colored sheets (format A 4) – 2 pcs.;
- dish sponges (red, yellow and green).

Work progress
1. Take colored sheets. Using a ruler and pencil, measure the sides of the box, drawing a template.

2. Paste the template onto the box to create a monochromatic rectangle - a layout for a traffic light.

3. On the bottom side of the layout (bottom), use scissors to cut a hole with a diameter slightly smaller than an empty tube of glue stick (later it will be useful for attaching the traffic light leg).

4. Remove the cap from the empty glue stick tube - it is not needed for work. Using the remains of colored paper and scissors, cut out a small piece of paper in accordance with the height of the glue tube (the height does not include the lower part of the tube, which is used to supply red glue, and the part on which the lid was put on).

5. Cover the “leg” with colored paper.

6. Place the leg into the hole cut out at the bottom of the model - it holds well even without glue.

7. Draw 3 circles on one side of the traffic light. Take sponges - red, yellow, green. Starting with the red color, lay out along the contour, and then fill the middle of the circle using crushed pieces of a sponge, using PVA glue.

8. The result is a three-eyed traffic light made from waste material! This unusual traffic light layout is convenient to use to introduce kids to its signals!
If you like to conduct themed activities with children, then professional holidays will help you plan interesting and useful lessons. July 3, for example, is celebrated as Traffic Police Day. This is a good reason to read a book about Uncle Styopa to the kids or talk about traffic rules. Or you can make a paper craft with your children: a traffic light with “eyes” and learn a poem.
What you need for the craft:
1. traffic light template
2. colored paper or cardboard
3. scissors and glue
How to do:
1. print a template or draw a traffic light layout
2. cut out a traffic light from black cardboard
3. cut three circles from black paper
4. cut out traffic signals from red, yellow and green paper
5. glue traffic lights with black circles 
6. bend the resulting circles in half and iron the folds
7. glue all the signals to the traffic light, applying glue only to the lower part of the circle 
Traffic lights are often compared to eyes. So we have a traffic light with eyes, which we will open one by one, and at the same time learn the verse “Baby Traffic Light” by I. Gurina
The traffic light is waiting for us to visit.
Illuminates the transition
The red eye lit up:
He wants to detain us.
If it's red, there's no way.
Red light - you can't go.
Yellow light is not very strict:
Wait, we have no way yet.
The bright yellow eye burns:
All the movement is worth it!
Finally a green eye
Opens the way for us.
Striped transition
Waiting for young pedestrians!
The traffic light applique can be made with children in classes in kindergarten or at home. To create a craft, you need to prepare materials (paper, cardboard, fabric, leather) for the base and the templates themselves.


It is worth worrying in advance about the method of securing the application. It can be threads or glue, depending on which option is chosen. The degree of difficulty of the work depends on the age of the child and his level of training. A traffic light applique can be made using almost any execution technique as a basis.
This article discusses ideas for making a traffic light using the most popular application methods and provides photo examples.
For preschoolers, practicing an application appropriate for their age will be very useful from the point of view of developing fine motor skills, spatial and figurative thinking, sensory perception, intellectual abilities, abilities for analysis and synthesis.
Photo master class “Traffic light”
For children in the younger group, you need to prepare in advance a traffic light template and circles of the appropriate diameter from green, red and yellow colored paper. It is better to choose the overlay applique method for beginners. With its help, you can get an interesting and not complicated multi-color option. Younger children will spend time with interest and benefit by simply gluing the circles onto the base with their own hands, step by step. The lesson will reinforce their knowledge of the shape of a circle and a rectangle, as well as the corresponding shades, and will give them an understanding of the basics of composition.
Video: Application for kids
Application for middle and older children
In the middle group of kindergarten you can also conduct a lesson on appliqué and make a traffic light. But, a child of this age will find it interesting and easy to prepare stencils from colored paper. Having cut out the circles and rectangles themselves, the children will then glue them together step by step, according to the color arrangement scheme. If the usual applique in the group is already working well, then you can move on to more complex methods. For example, conduct classes on making a traffic light using modular or cut-out appliqué. Creating crafts based on them develops creative thinking especially well.
Modular applique involves the use of fairly small pieces of the selected material of the same size and shape. For the craft you will need pieces of three colors: yellow, red and green and a base. It is better to prepare them in advance, and also print out a drawing with the outline of a traffic light for each child, so that it is easier to stick a large number of blanks on its base.


Cut-out applique is an even more entertaining activity for children of middle preschool age. They can make the traffic light entirely themselves, but it’s still better to prepare pictures with its drawing.


To create a broken traffic light applique, you will need to tear colored paper of the four desired colors into fairly small parts, and then stick them according to the appropriate pattern.
Lessons for the senior group
For children in the older group, you can complicate the traffic light appliqué, for example, by using symmetrical blanks of various shapes. The children must cut them out from colored cardboard or paper themselves. Or you can give each of the circles additional individuality by adding facial expressions.


The turning on and off of a traffic light signal can be indicated in various ways by drawing darkening bars, or instead of a “switched on” signal, use not a circle, but a star-shaped, radiant shape.


In older preschool age, modular or broken appliqué is much better. In such classes you can make many original traffic lights. Additional pictures with an auxiliary outline will no longer be needed; instead, it is better to use sheets of cardboard or plain paper.
Unusual traffic light applications are obtained by combining applique and origami techniques. To do this, some identical characters with different facial expressions must be specially made from red, yellow and green colored paper for gluing onto the base.


It is not necessary to make faces using the origami technique. If there are no step-by-step instructions or a detailed description process, you can prepare simple flat templates of faces for children, according to which they themselves will redraw and cut out the blanks, then adding the necessary features. 
Video: Simple application “Traffic light”
Applications for older children
In the preparatory group of a kindergarten, you can successfully practice all the application methods described above and conduct more educational classes on the topic of traffic rules and existing types of traffic lights. Children at this age are able to work together to create amazing compositions, and not just individual works.
Twisting
A traffic light applique using the quilling technique, which is based on creating an image from paper rolled into ribbons, may seem like a craft too complicated for a preschooler. But, with detailed instructions and the sensitive attention of the teacher, you can get interesting and high-quality options.


Trimming
To diversify the process of preparing for school, you can conduct classes on creating an original traffic light applique using the cutting technique. This method involves winding a piece of paper onto a piece of rod, then the resulting shape is glued onto a base sheet, with or without an outline.


The presence of empty spaces is minimized and a multi-colored, three-dimensional image with an interesting texture is obtained. To apply a traffic light, you should prepare yellow, green and red colored paper.


Learning to cross the road
Children in the older group should know that traffic lights are at intersections and regulate traffic. But there is also a traffic light for a pedestrian crossing. And what does each of the colors mean?
For preschoolers in the preparatory group, the process of creating such an unusual traffic light, as well as the preparations for it, will be incredibly exciting and entertaining.


Tatyana Tikhomirova
In this master class, I propose to make a “Traffic Light” craft, which is perfect for a traffic rules corner and for conducting classes and games. Target:Learning traffic rules.
For this we need: a juice box (must be equal on all sides), cardboard, colored paper, glue, plastic cup. Stages of work 1 Cut out three circles from the box like a traffic light and paint them black (you can make a funny traffic light and paint it any color)


2. Glue a cylinder out of black cardboard (make it small so that when turning in the box it doesn’t touch the walls) and glue circles of colored paper in accordance with the traffic lights.


3. We glue a plastic cup to the top of the workpiece (I took a coffee cup, it is stronger than a regular plastic one) and paint it black, glue the cup so that the cylinder does not deform and it is more convenient to turn for the desired signal.

4. We place our workpiece inside the box; when the cylinder is turned, the desired signal will appear.

5. Cover the top of the cylinder with black cardboard.


6. We install the resulting traffic light on a stand or attach it to the wall.
It turned out to be an excellent traffic light for traffic rules lessons; children can control the signals themselves and learn the rules of the road with interest.
Publications on the topic:
“Miracle traffic light” From early childhood, parents, together with educators, try to put all the joy, love of life, knowledge, etc. into their children.
Integrated lesson “My friend the traffic light” Kemerovo region, town of Verkh-Chebulinskoe MKOU for orphans and children left without parental care. INTEGRATED ACTIVITY. 2015
Teaching young children the rules of the road is one of the important components of their upbringing, which parents should pay attention to.
Game-conversation “Traffic Light” A game-conversation on the topic “Traffic Light” was prepared by teacher K. A. Ataeva. Goal: to expand, deepen and consolidate children’s knowledge about the main types.
You are presented with a toy assistant "Traffic Light". This toy is made of 2l. bottles filled with sand, lined with material. Mugs with flowers.
Master class Application “Traffic Light” Purpose: To consolidate knowledge about traffic rules in preschool children through the production of “Traffic Light” crafts. Objectives:.
Master class for parents “Development of fine motor skills in children” The purpose of the master class: to help parents carry out targeted work on developing fine motor skills with minimal effort and time.
Today it is very difficult to imagine traffic rules without the main tool for regulating traffic, which is.


